
Back up your iPhone before you install a software update or erase the phone. A backup saves settings, app data, photos that are not already synced, and other personal content, so you can restore them if an update fails or after a reset. Apple offers two main routes: iCloud backup over Wi-Fi, and a backup to a Mac or Windows computer over a cable. This guide covers both routes, what each one saves, and how to check that the backup actually finished before you go ahead.
IPhone backup at a glance: which route fits you

Back up an iPhone to iCloud or to a computer. iCloud backup is wireless and automatic once it is on, but it needs enough iCloud storage. A computer backup is local and can hold more, but it needs a cable, a computer, and free space.
The choice is practical, not technical. If you have stable Wi-Fi, enough iCloud storage, and a night to spare, iCloud backup is the simplest route before an update. If iCloud storage is full, if Wi-Fi is slow, or if you need a backup right now before a trade in appointment, a computer backup is faster and more certain. You can also make both: run an iCloud backup first, then a computer backup as a second copy. Two copies protect you if one route fails, and the extra time is small compared with losing photos or messages.
Whichever route you choose, do not start an update or an erase until you have checked the backup. For iCloud, check the date and time of the last backup on the iCloud Backup screen. For a computer, wait until the backup progress finishes and the backup appears in the computer’s backup list. A backup that is still running is not a backup you can rely on yet.
Back up to iCloud, step by step
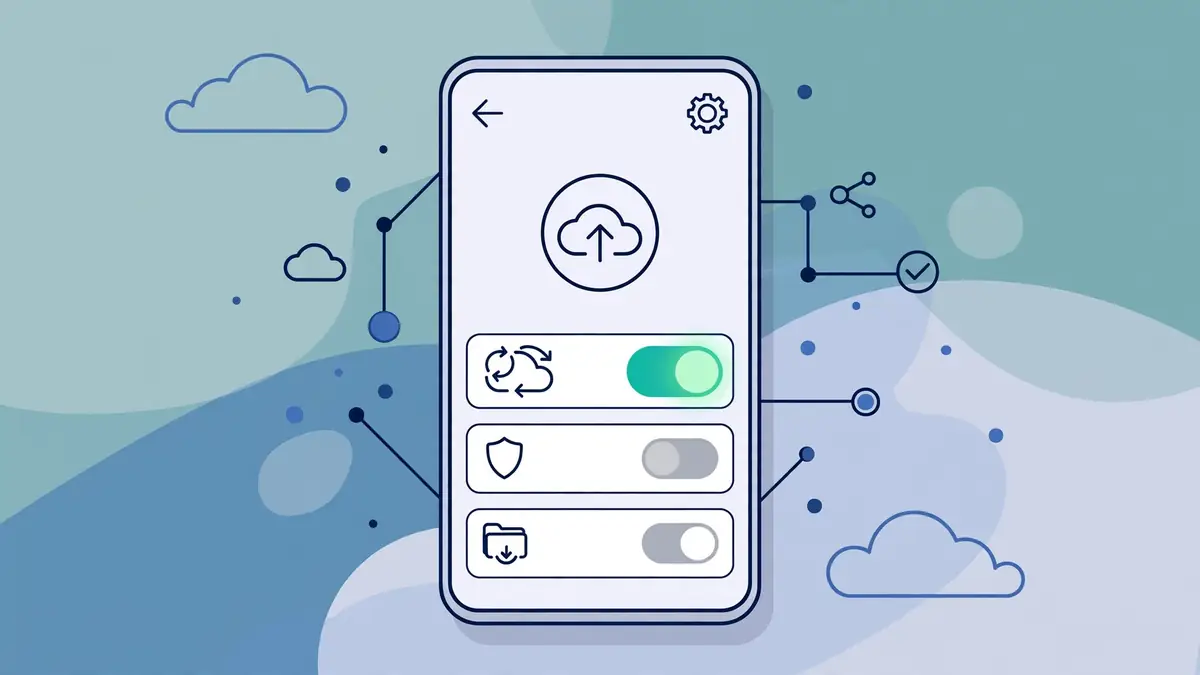
Back up an iPhone to iCloud by turning on iCloud Backup in Settings, then tapping Back Up Now and staying on Wi-Fi until it finishes. iCloud backs up automatically each day when the phone is connected to power, locked, and connected to Wi-Fi, but a manual backup is the safe step right before an update or a reset.
Open Settings, tap your name at the top, tap iCloud, then tap iCloud Backup. Turn on Back Up This iPhone. Tap Back Up Now, and keep the phone connected to Wi-Fi until the backup completes. On models that support 5G, your carrier may offer backup over cellular, controlled by Back Up Over Cellular on the same screen, but Wi-Fi is the safer choice for a large first backup, because cellular data can be slow and costly.
Back up to a Mac with Finder
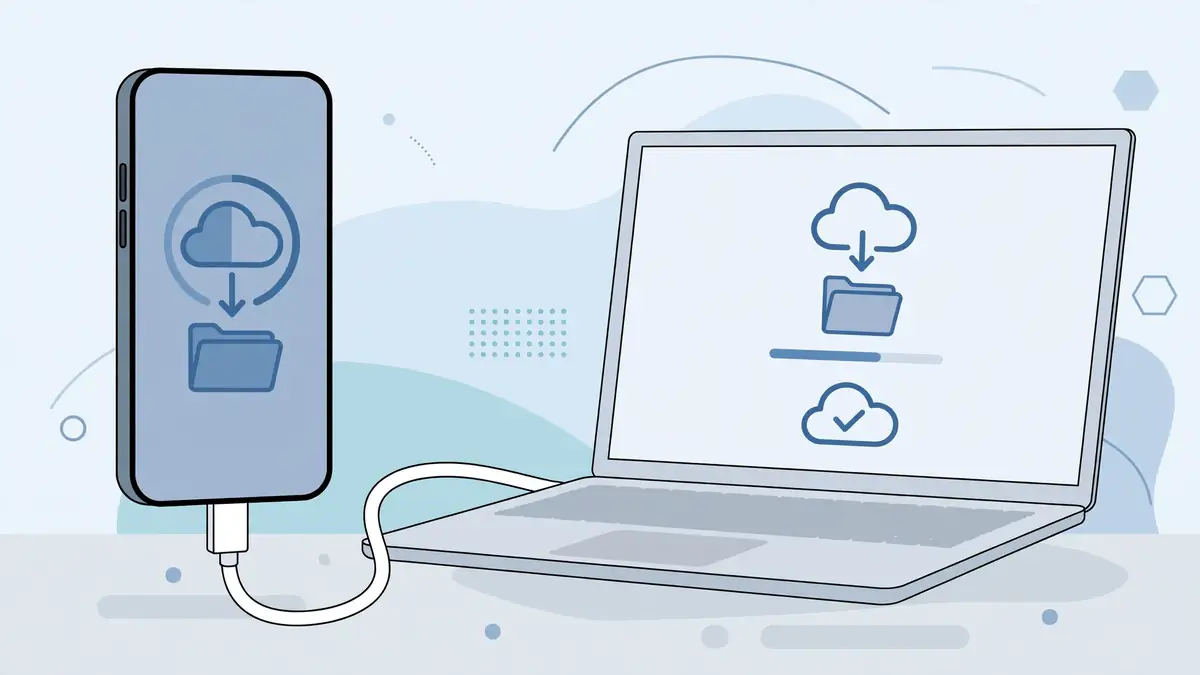
Back up an iPhone to a Mac by connecting the phone with a cable, selecting it in Finder, choosing to back up all data to the Mac, and clicking Back Up Now. Finder is the tool for macOS 10.15 or later. On earlier macOS versions, Apple says to use iTunes instead.
Connect the iPhone to the Mac with a cable, then select the iPhone in the Finder sidebar. If the phone asks whether to trust the computer, tap Trust and enter the passcode. At the top of the Finder window, click General, select “Back up all of the data on your iPhone to this Mac,” then click Back Up Now. Keep the phone connected until the progress finishes, and do not unplug the cable early, because an interrupted backup may be incomplete.
Encryption is the important choice on this screen. Select “Encrypt local backup” and set a password if you want the backup to include saved passwords, Wi-Fi settings, Health data, and other sensitive items. Without encryption, those items are left out, and the backup will look complete while missing data you may need later. Store the encryption password somewhere you can find it, because Apple cannot recover it for you, and a forgotten password means that backup cannot be restored.
Back up to a Windows computer
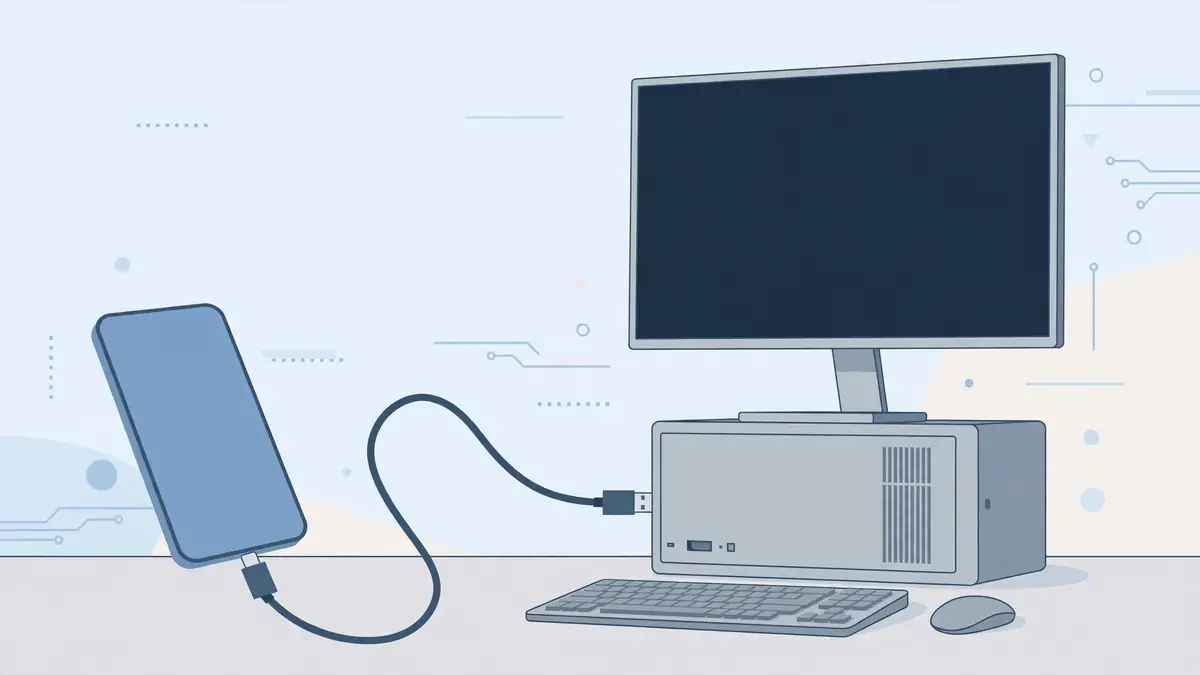
Back up an iPhone to a Windows computer by connecting the phone with a cable, opening iTunes or the Apple Devices app, selecting the phone, and clicking Back Up Now. Apple now points Windows users to the Apple Devices app on Windows 10 or later, while iTunes remains the route on older setups and for some existing installs.
Connect the iPhone with a cable, then open the Apple Devices app or iTunes. In iTunes, click the iPhone button near the top left of the window, then click Summary. Under Backups, click Back Up Now. In the Apple Devices app, select the phone in the sidebar and use the backup controls in the same way. If the phone asks to trust the computer, tap Trust and enter the passcode before the backup starts.
Encryption works the same way as on a Mac. Select “Encrypt local backup,” type a password, then click Set Password. To see backups stored on the computer in iTunes, choose Edit, then Preferences, then Devices. Encrypted backups show a lock icon in that list. If you back up on a shared or borrowed computer, remember that the backup file stays on that computer until you delete it, so do not leave a backup with personal data on a machine you do not control.
What iCloud backup saves, and what it does not
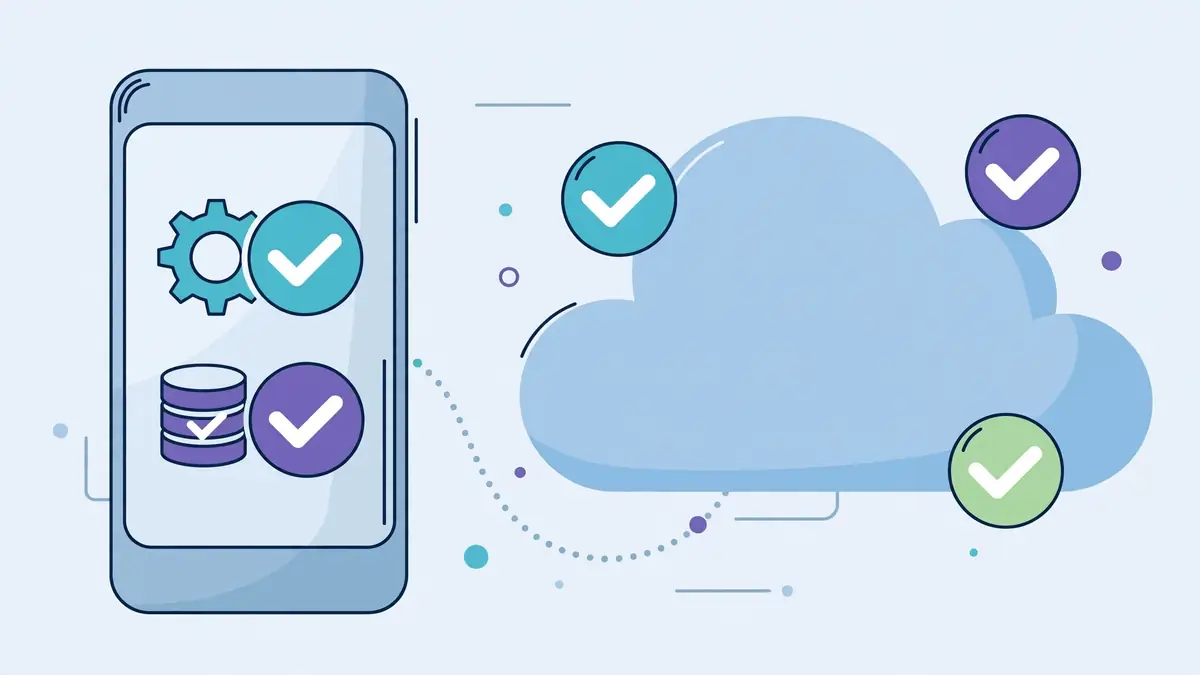
iCloud backups store information and settings on the device that do not regularly sync to iCloud, including device settings, Home Screen layout, and app organization, according to Apple. Items that already sync through iCloud, such as photos in iCloud Photos, messages in iCloud, and contacts, are handled by those services rather than by the device backup alone.
That distinction matters when you restore. After a restore, apps, photos, music, and other content may keep downloading in the background, even after the main progress bar finishes. Give the phone time on Wi-Fi and power to finish that second stage before judging whether anything is missing. If an item was already synced through iCloud, signing in to the same Apple Account usually brings it back without a full device restore.
Encrypted backups and passwords you must keep
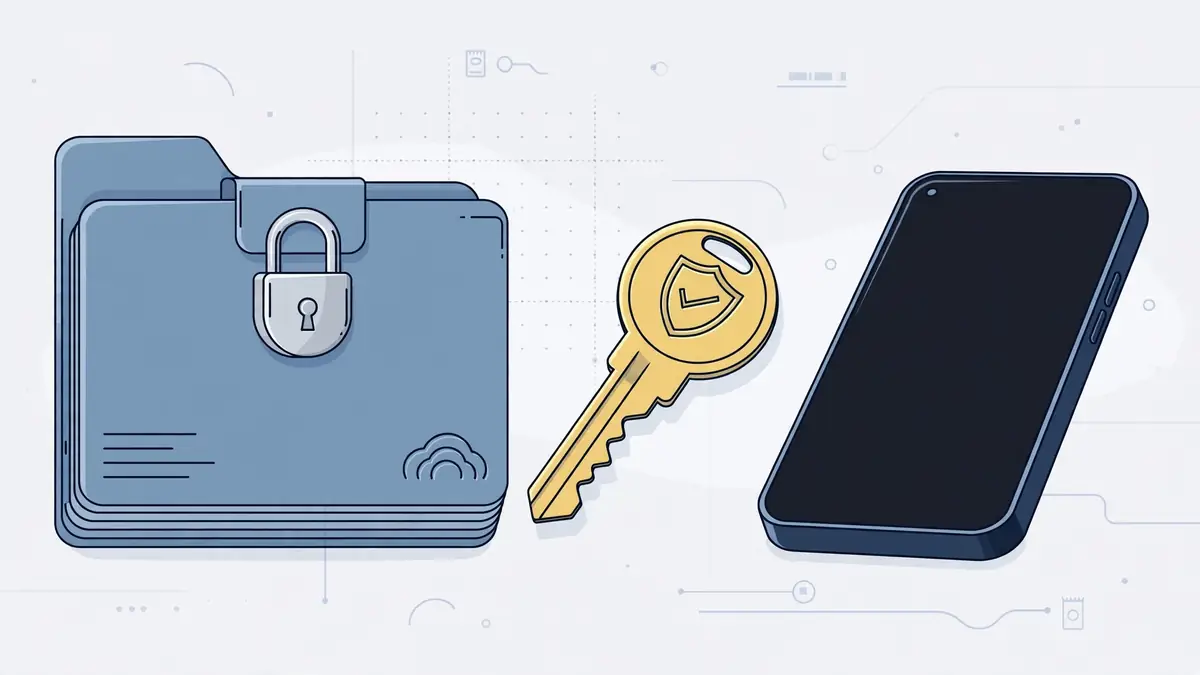
An encrypted computer backup protects the backup with a password and includes data that an unencrypted backup leaves out, including saved passwords, Wi-Fi settings, and Health data. The password is the key to that backup. If you forget it, you cannot restore from that backup, and Apple cannot unlock it for you.
Set the encryption password before the backup runs, and write it down in a place separate from the computer that holds the backup. A password manager entry, a printed note in a safe place at home, or a note kept by a trusted person all work better than memory alone. Do not store the only copy of the password on the iPhone itself, because that phone is the device you may be erasing.
Before an update: a short checklist
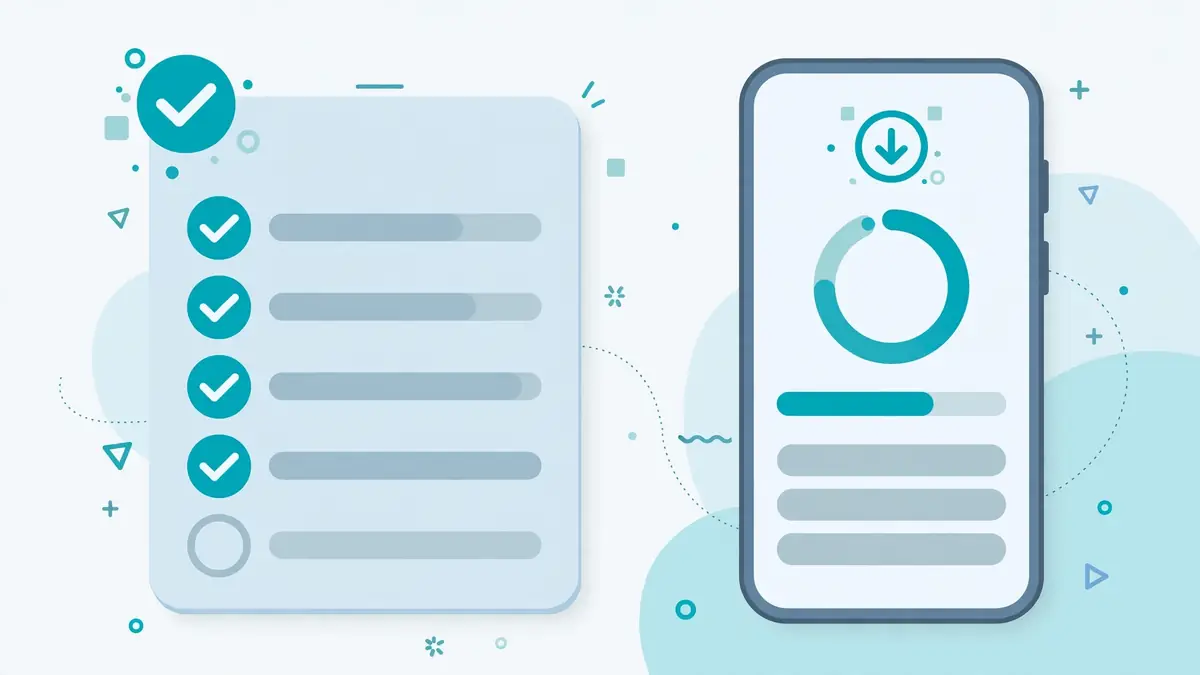
Before an iOS update, make a fresh backup, confirm it finished, connect the phone to power and Wi-Fi, and check that there is enough free space for the update. Apple lists backing up as the first step in its wireless update guidance, and an update that runs out of space or power partway through is the most common avoidable problem.
Run the checklist in order. First, make the backup and confirm the last backup time. Second, connect to power and Wi-Fi, because an update can take a while and a low battery can pause it. Third, open Settings, then General, then Software Update, and check the version offered. Fourth, free space if the phone warns that storage is low. iOS may temporarily remove some apps and reinstall them after the update, but if you would rather control that, delete large videos or unused apps yourself before starting.
Before a reset: checklist and erase steps
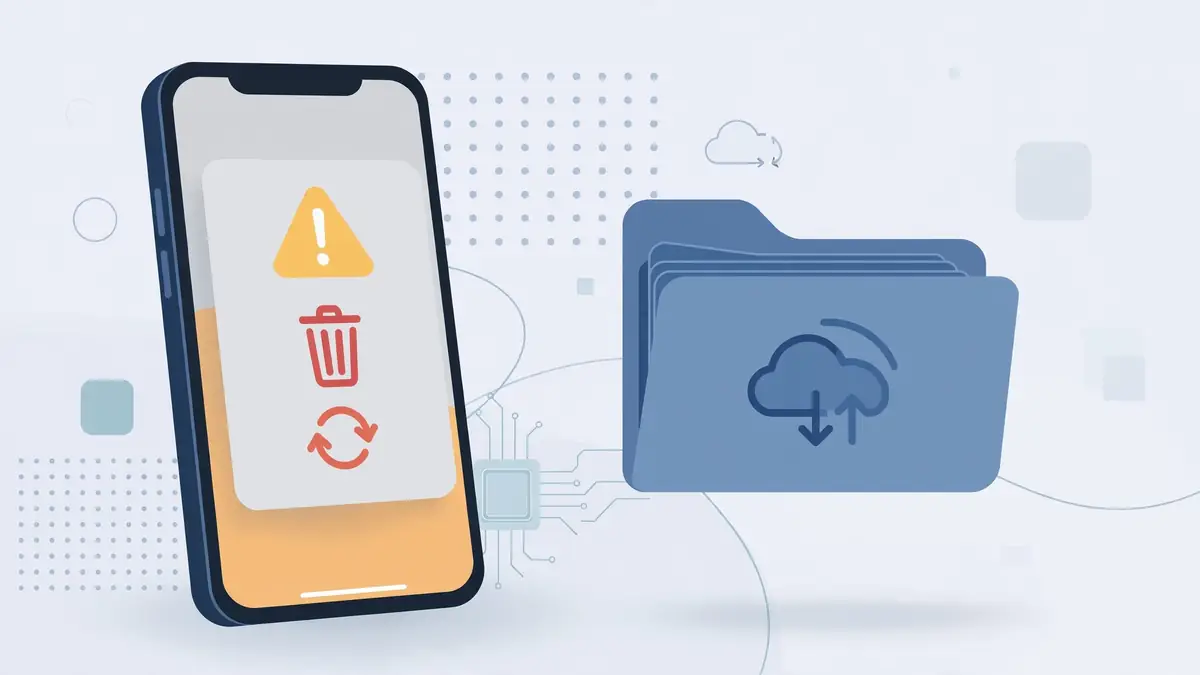
Before a reset, make a fresh backup, confirm it finished, sign out of accounts you need to close, and only then erase the phone. Erasing removes personal information, content, and settings from the phone and returns it to factory settings, according to Apple, so a reset without a confirmed backup is a one way step.
Apple’s erase guidance starts with a backup, for good reason. Once you erase, the local copy is gone, and only the backup or synced iCloud data can bring it back. Before erasing a phone you plan to sell or give away, also turn off Find My if the setup asks for it, and sign out of your Apple Account where prompted, so the next owner is not blocked by Activation Lock. Keep the backup until the new phone is set up and checked, not just until the old phone is erased.
To erase, open Settings, tap General, tap Transfer or Reset iPhone, then tap Erase All Content and Settings. Enter the passcode or Apple Account password if asked, and confirm. If you only want to reset settings while keeping personal content, use Reset iPhone settings instead, which is a different option on the same screen. Do not confuse the two: one keeps your content, the other removes it.
Restore from a backup after setup

Restore an iPhone from a backup during setup, by choosing From iCloud Backup or restoring from a computer backup when the setup screen offers Transfer Your Apps and Data. If the phone is already set up, Apple says to erase it first, then follow the setup steps again to restore, because a full restore is a setup choice.
For an iCloud restore, turn on the phone, follow setup until you reach Transfer Your Apps and Data, tap From iCloud Backup, sign in to your Apple Account, review the date and size of each backup, and choose the most recent one. Sign in again when asked to restore apps and purchases, and keep the phone on Wi-Fi and power until the progress bar finishes. Content may keep downloading after that bar completes, so leave the phone alone for a while longer.
Fix backup problems before you give up
If a backup fails, check storage, Wi-Fi, power, and the Apple Account sign in first, because those four checks solve most backup problems. A backup that fails with a storage message needs space, either in iCloud or on the computer. A backup that stalls needs a stable connection and power, not a different backup method.
For iCloud, open Settings, tap your name, tap iCloud, and check used and available storage at the top. If storage is full, buy more iCloud storage, trim the backup by turning off apps, or switch to a computer backup for this occasion. Keep the phone on Wi-Fi and power, with the screen locked, for an automatic backup, or tap Back Up Now and wait. If the backup still fails, sign out and back in to iCloud only if you have a recent backup already, because signing out can affect synced data.
For a computer backup, check the cable, the trust prompt, and free space on the computer. Try a different cable or USB port if the phone does not appear, and confirm that Finder, iTunes, or the Apple Devices app is up to date. If an encrypted backup asks for a password you do not have, make a new backup with a recorded password instead of trying to force the old one open. After any fix, run a fresh backup and confirm its date and time before updating or erasing.
Frequently asked questions
Should I back up before every iPhone update?
Yes. Make a fresh backup before every update, even a small one, and confirm it finished. Updates usually work, but a backup is the only simple way back if an update fails or an app loses data.
Is iCloud backup or a computer backup better?
iCloud backup is simpler and wireless, but it needs enough iCloud storage. A computer backup can hold more and works without Wi-Fi, but it needs a cable and a computer with free space. For important updates or resets, making both is the safest choice.
What does an iCloud backup not save?
iCloud backup does not restore Face ID or Touch ID data, Apple Pay cards, or data that an app keeps only in its own account. Items already synced through iCloud, such as iCloud Photos, return when you sign in, rather than through the device backup alone.
Why does my iCloud backup keep failing?
The most common causes are full iCloud storage, an unstable Wi-Fi connection, and a phone that is not left on power with the screen locked long enough. Check storage at the top of the iCloud screen, free space or trim the backup, then tap Back Up Now on Wi-Fi and power.
Can I restore a backup to a new iPhone?
Yes. During setup on the new phone, choose From iCloud Backup, or restore from a computer backup, and pick the most recent backup by date and size. Keep the new phone on Wi-Fi and power until the restore and the background downloads finish.
What happens if I forget my encrypted backup password?
You cannot restore from that encrypted backup without its password, and Apple cannot recover it for you. Make a fresh backup with a password you record, and restore from that fresh backup instead.
Should I delete the backup after a successful update?
No, not right away. Keep the backup until you have used the updated phone for a few days and confirmed that photos, messages, and important apps are all present. Delete an old backup only after the new setup is checked.
Sources
- Apple Support, Back up iPhone: https://support.apple.com/en-gb/guide/iphone/iph3ecf67d29/ios
- Apple Support, Restore your iPhone, iPad, or iPod touch from a backup: https://support.apple.com/en-us/118105?cid=tw_sc_keynote_082221
- Apple Support, Erase iPhone: https://support.apple.com/guide/iphone/erase-iphone-iph7a2a9399b/ios



1 comment