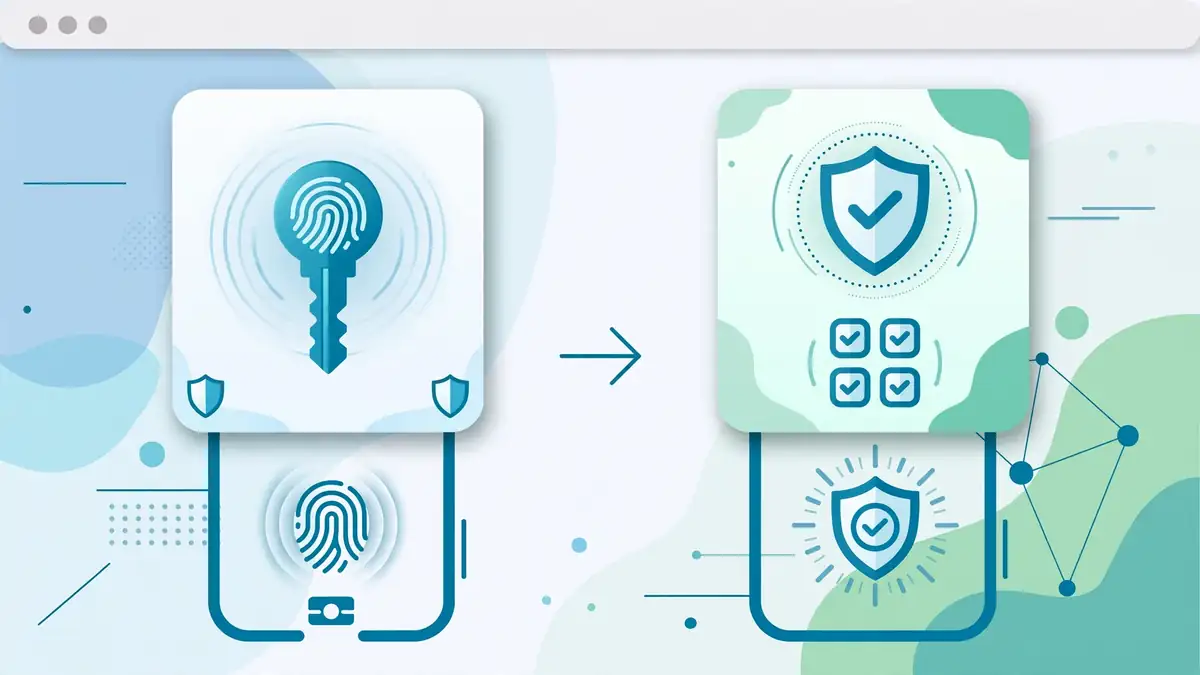
A Microsoft account passkey lets you sign in with face, fingerprint, PIN, or a security key instead of typing a password, while two-step verification adds a second check on sign in from a device that is not trusted. Used together, they make an account much harder to take over with a stolen password alone. This guide covers both setups in order: add security info first, create a passkey, turn on two-step verification, save a recovery code, and test sign in before you rely on the new methods.
Microsoft account security at a glance: passkey and two-step
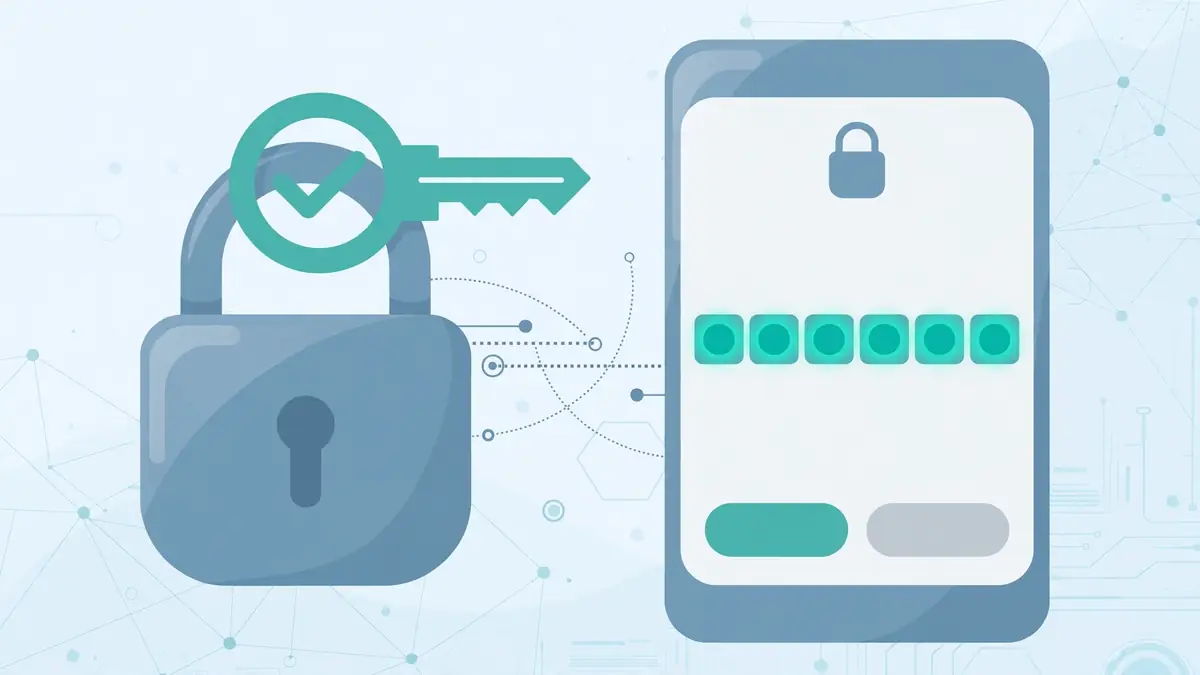
A passkey replaces the password at sign in with a device check such as face, fingerprint, or PIN, while two-step verification adds a second check on sign in from a device that is not trusted. A passkey is stronger where available; two-step verification is the safety net elsewhere.
Microsoft describes passkeys as secure, phishing resistant replacements for passwords, because the private key stays on the device or in a synced credential manager and cannot be typed into a fake website. Two-step verification, sometimes called multi factor authentication, uses two different forms of identity: your password, and a contact method, also known as security info, according to Microsoft. Even if someone finds your password, they are stopped if they do not have access to your security info.
Before you start: sign in safely and add security info
Before you change security settings, sign in safely at account.microsoft.com/security, confirm the account shown is yours, and add security info you can actually reach. Microsoft strongly recommends three pieces of security info on an account with two-step verification on, because losing one method should not lock you out.
Type account.microsoft.com/security into the browser yourself, rather than clicking a link in an email or message that claims to be from Microsoft. Sign in with your normal method, then select Manage how I sign in to see the ways you can prove who you are. Add a backup email you can open, an authenticator app, and a passkey, in that order if you have none yet. Microsoft allows up to 10 different verification methods on a single account in guidance for adding sign in methods, so there is room for backups.
Create a passkey on your device
Create a Microsoft passkey on the device where you want to use it, by signing in to Advanced Security Options at account.live.com/proofs/manage, choosing Add a new way to sign in or verify, then selecting Face, Fingerprint, PIN, or Security Key, and following the device instructions to save it.
Microsoft’s own steps are short, because most of the work happens in the device prompt. Sign in to Advanced Security Options, choose Add a new way to sign in or verify, select Face, Fingerprint, PIN, or Security Key, follow the instructions on your device, then select Continue or Create to store the passkey in the suggested location, or select Change or Save another way to see other save locations. Complete the save with an unlock gesture, such as facial recognition, fingerprint, or PIN, at the chosen location.
Save a passkey to a manager, phone, key or Windows Hello
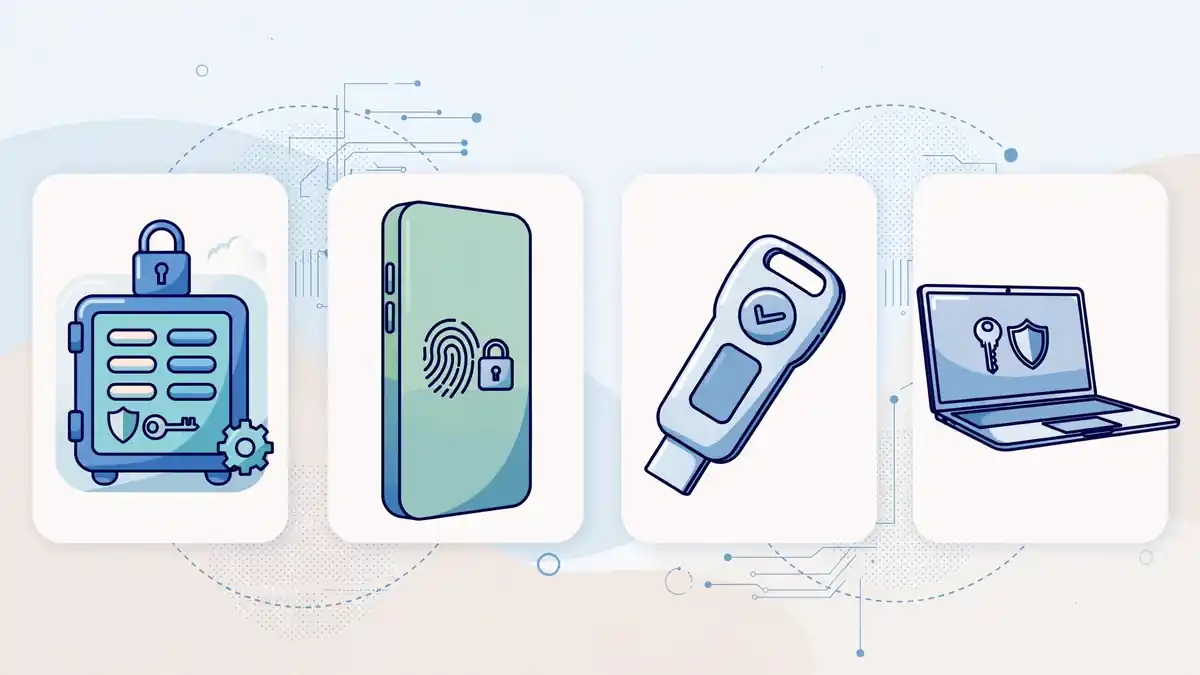
Save a Microsoft passkey to a synced password manager, a phone or tablet, a physical security key, or a Windows device with Windows Hello, depending on which devices you use most. Microsoft lists all four save locations, and the right choice depends on whether you need the passkey on one device or on many.
A password manager is the most flexible choice for most people. You can save a passkey to Microsoft Password Manager or another synced credential manager, such as Google Password Manager or Apple iCloud Keychain. Once saved there, you can sign in on any device that uses that manager, without creating a separate passkey for each device. Check that the manager is signed in and syncing before you rely on it, and keep the manager itself protected with a strong password and its own second step.
Turn on two-step verification
Turn on Microsoft two-step verification by signing in to the Security tab at account.microsoft.com/security, selecting Manage how I sign in, then under Additional security and Two-step verification choosing Turn on, and following the onscreen instructions. Do this after adding security info, not before, so the setup has methods to use.
Microsoft’s steps are: sign in to the Security tab, select Manage how I sign in, under Additional security and Two-step verification choose Turn on or Turn off, then follow the instructions shown on screen. During setup, you may be given a QR code to scan with your device, which confirms you physically hold the device where the authenticator app is installed. Follow each prompt fully, and do not close the browser until the screen confirms that two-step verification is on.
Use the authenticator app as your second step
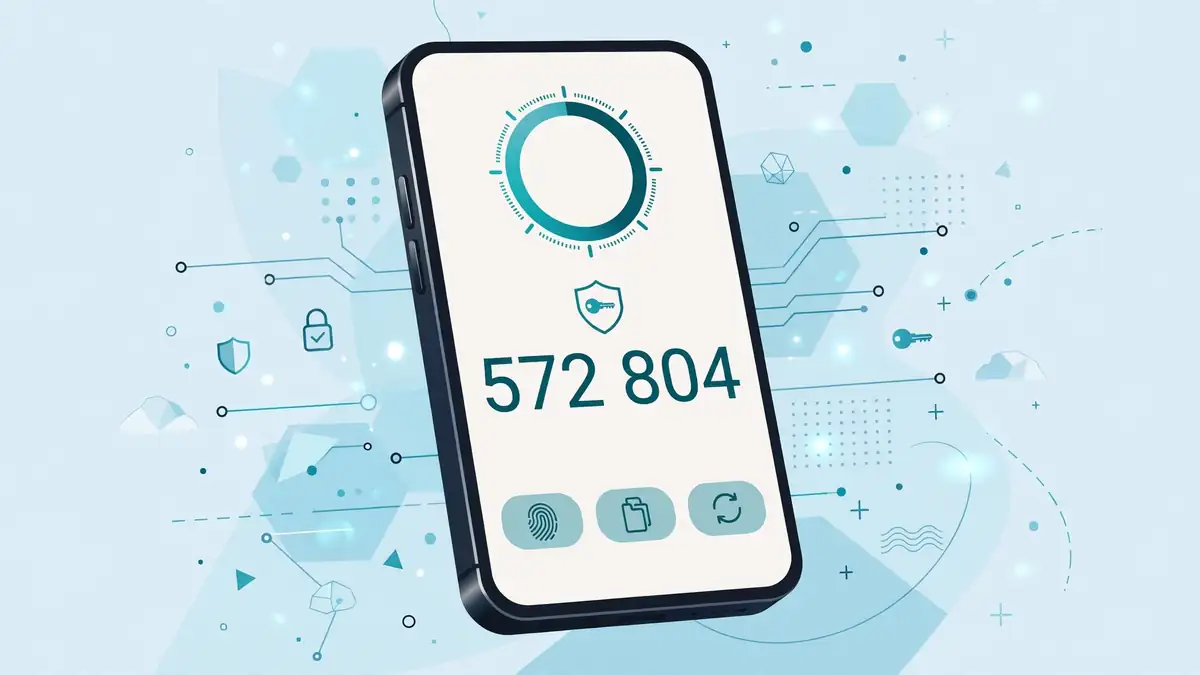
Use Microsoft Authenticator as your second step by installing it, adding your Microsoft account, scanning the QR code shown during setup, and entering the code the app generates to confirm. Authenticator codes work without relying on text messages, which Microsoft is phasing out as an authentication and recovery method for personal accounts.
Authenticator is the recommended second step for most personal accounts, because it works on Wi-Fi without a mobile signal, and it is not exposed to SIM swap attacks in the same way as text messages. During two-step setup, Microsoft gives a QR code to scan with the device where Authenticator is installed, which proves physical possession of that device. After scanning, the app generates codes, and entering one confirms the setup. Keep the phone’s time set automatically, because authenticator codes depend on correct time, and a phone clock that is far off can produce codes that fail.
Save a recovery code and use app passwords

Save a recovery code right after turning on two-step verification, by generating it in Advanced Security Options and storing it safely away from your sign in devices. It is the last resort route back in when other methods are lost. Microsoft warns regaining access without it can take up to 30 days.
Microsoft’s two-step guidance stresses having three pieces of security info for exactly this reason: if you forget your password with two-step verification on, you need two contact methods, and if you lose your contact method, your password alone will not get you back in, and it can take 30 days to regain access. Generate the recovery code in Advanced Security Options, print it or write it down, and keep it in a safe place at home, not in a note on the same phone or computer you use to sign in. If you generate a new recovery code later, the old one stops working, so replace the stored copy at the same time.
Sign in with a passkey and manage your methods
Sign in with a Microsoft passkey by entering your account address, choosing the passkey option, and completing the face, fingerprint, PIN, or security key check on the device that holds the passkey. Once created, the device prompts you with its secure method at sign in, so you do not type a password.
Test the passkey before you rely on it. Sign out in a browser, sign back in, choose the passkey option, and complete the device check. Then test on a second device if you saved the passkey to a synced manager. If the passkey prompt does not appear, check that you are using the same account, that the browser supports passkeys, and that the credential manager holding the passkey is signed in. Older versions of Windows, macOS, mobile operating systems, and browsers may not fully support passkeys, according to Microsoft’s troubleshooting guidance.
Manage methods regularly. In Advanced Security Options, review the list of ways to sign in, remove passkeys for devices you no longer own, and add a passkey on a new device before removing the old one. Set up new passkeys first, then delete old ones, because deleting the only working passkey before a replacement is ready can lock you out of passwordless sign in. For readers setting up passkeys on Google accounts, our Google passkeys guide at https://technewsnest.com/google-passkeys-setup-guide/ covers the same idea on Google, and our Android password and passkey transfer guide at https://technewsnest.com/android-password-passkey-transfer-guide/ covers moving credentials between devices.
Fix passkey problems: Bluetooth, QR codes and lost devices

Fix most passkey problems by checking Bluetooth, the QR code step, the credential manager sign in, and the device screen lock. Cross device failures often happen because Bluetooth is not enabled on both devices, which must be in range and online.
If a QR code does not appear for a phone passkey, check Bluetooth on both the signing in device and the phone, and check that the phone camera or authenticator QR scan is being used in the right profile. Microsoft notes that a passkey created with a camera in a personal profile will not save to a work profile, so use the work profile’s camera or authenticator app for a work account passkey. If Bluetooth hangs during registration, especially with a USB security key, cancel and refresh the sign in page and try again.
If a passkey can no longer be used, it may have been deleted from the account or device. Sign in with another method, set up a new passkey, then delete passkeys that no longer apply. If you get a new device, set up new passkeys first, then remove old ones. If a synced passkey is not showing, check that the device screen lock is not disabled, because passkeys cannot be used on a device without face, fingerprint, or PIN authentication. If all passkey methods fail, use Sign in another way, choose an authenticator code, email code, or password, and fix the passkey list once you are back in.
Passkey or two-step: which to use, and work account notes
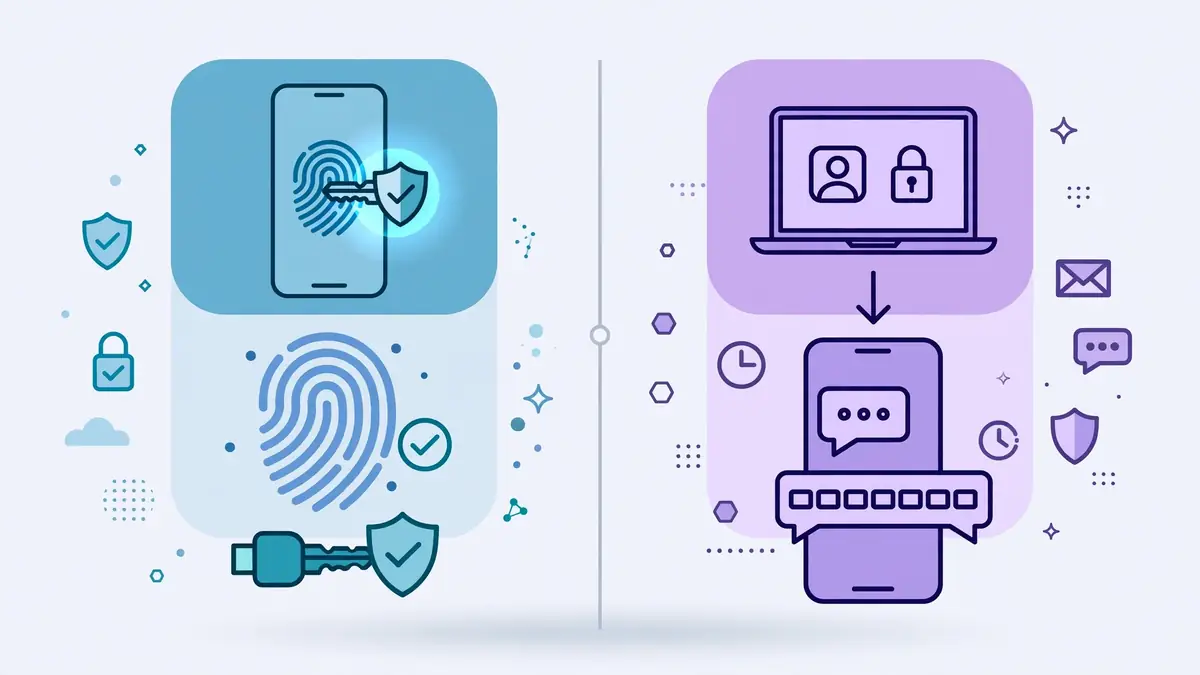
Use a passkey as your main sign in where it is available, keep two-step verification on as a safety net, and keep at least two working recovery methods at all times. That combination gives phishing resistant sign in on modern devices, plus a second check on devices and apps that cannot use a passkey yet.
A passkey alone is stronger against phishing than a password plus a code, because the passkey cannot be typed into a fake site. Two-step verification alone is still much stronger than a password alone, because it needs a second proof. The two together are not redundant: two-step verification protects sign ins that do not use a passkey, and the passkey protects sign ins that do. Do not turn two-step verification off just because you added a passkey, unless you have checked that every app and device you use works with passkey sign in, and you have a recovery code saved.
Work and school accounts follow the same ideas with one extra rule: your organization controls whether passkeys are available, and an administrator may need to enable them. If a passkey option is missing on a work account, check with IT before assuming the setup is broken, and do not use a personal passkey profile for a work sign in. Personal accounts are fully under your control, so the steps in this guide apply directly, including the warning that Microsoft support agents cannot send password reset links or change account details for you if you lose all methods.
Frequently asked questions
What is a Microsoft account passkey?
A passkey is a way to sign in with face, fingerprint, PIN, or a security key, instead of typing a password. The credential is saved on a device or in a synced credential manager, and the device prompts you with its secure method at sign in.
How do I create a Microsoft passkey?
Sign in to Advanced Security Options at account.live.com/proofs/manage, choose Add a new way to sign in or verify, select Face, Fingerprint, PIN, or Security Key, follow the device instructions, and choose where to save the passkey.
How do I turn on two-step verification for a Microsoft account?
Sign in at account.microsoft.com/security, select Manage how I sign in, then under Additional security and Two-step verification choose Turn on, and follow the onscreen instructions. Add security info before turning it on.
Do I need both a passkey and two-step verification?
Using both is the safest setup for most people. A passkey gives phishing resistant sign in where available, while two-step verification adds a second check on devices and apps that cannot use a passkey yet.
What should I do if I lose my phone with my passkey and authenticator?
Sign in with another method, such as a backup email code or your recovery code, then set up a new passkey and authenticator on a replacement device, and remove the old methods. If you have no working method left, Microsoft warns that regaining access can take up to 30 days.
Why is my passkey QR code not showing?
Check that Bluetooth is enabled on both devices, that both are in range and online, and that you are scanning with the right profile or authenticator app. For a work account, use the work profile, because a passkey saved from a personal profile will not appear there.
Can I use a passkey for a work or school Microsoft account?
Yes, if your organization enables passkey authentication. Work and school accounts use Microsoft Entra ID, and your IT administrator controls whether passkeys are offered. If the option is missing, check with IT first.
Sources
- Microsoft Support, Create and save a passkey: https://support.microsoft.com/en-gb/accounts-billing/security/create-save-passkey
- Microsoft Support, How to use two-step verification with your Microsoft account: https://support.microsoft.com/en-gb/accounts-billing/security/how-to-use-two-step-verification-with-your-microsoft-account
- Microsoft Support, Troubleshoot signing in with a passkey: https://support.microsoft.com/en-us/accounts-billing/security/troubleshoot-signing-in-with-a-passkey